Showing posts with label workshop. Show all posts

Wednesday, May 16, 2012

Spice Rack Paint Storage Mini Makeover

While laying in bed one night, an idea hit me. Does that happen to anyone else? I think I need to keep a notepad next to my bed. I'll have a great idea then fall asleep and when I wake up, all that I can remember is that I had a great idea, but do not remember what it was. Anyways, I remembered this one.


I "upcycled" an old spice rack by painting it white and hanging it in my shop to hold my small bottles of acrylic paints. It's size works perfectly!


Here's an updated pic of the outside of my shop, that my husband and I built this past fall and winter. It looks a little different now then when were building the greenhouse boxes on the back. 


Spice racks always seem to pop up at thrift stores or yard sales for pennies. Have you used an old spice rack for something other than holding spices. I'd love to hear about your ideas, because I have a few stored away still.

Have a great day!

'til next time,
Adina

Sunday, February 12, 2012

A greenhouse just in time for Spring

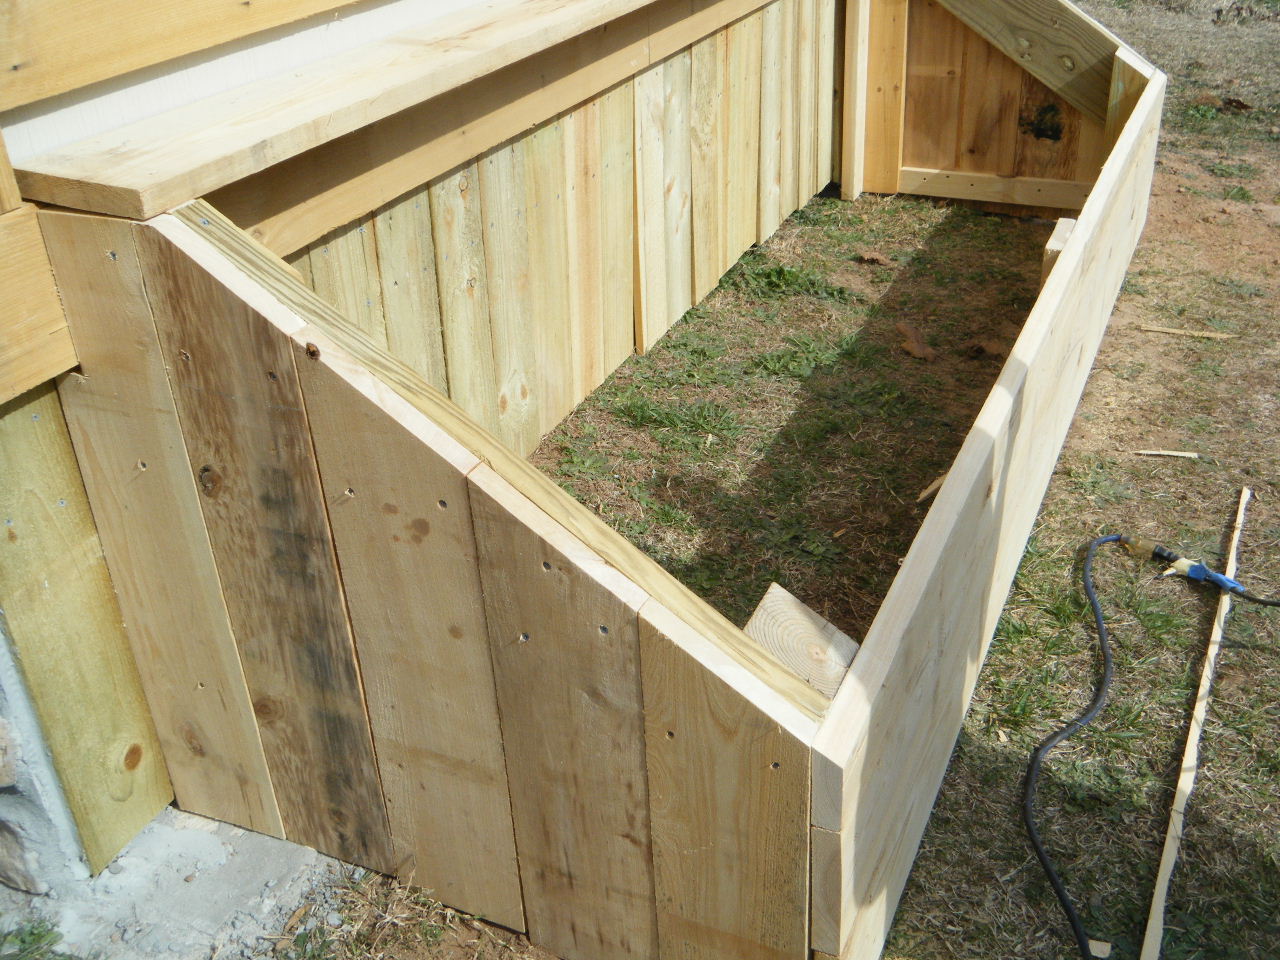
A new addition to my workshop! We completed the greenhouse seedling boxes this weekend, just in time for Spring...


                                                         ... but with snowflakes fluttering in the wind and the cold temps, we were reminded it is still winter here. I was hoping for more of the white stuff to keep falling, but to no avail this weekend. It is so pretty when everything is freshly covered in snow and it makes the cold weather worth it! This is a pic of our place after a snow in 2009! You have to admit, it is pretty isn't it?


My wonderful husband, Walter, came up with a simple design for this project and the old windows we had stored in our shed were going to work perfectly.


We started by building a box out of cypress lumber.


The box is large enough to hold a shelf and have two levels of seedlings growing! Last spring I coudn't find a lot of the veggies I wanted in small plants and it was too late in the year to start the seeds. I'm keeping my fingers crossed that this is a successful new adventure in gardening for me this year. I found a clever idea on Pinterest from MarthaStewart.com using eggshells as the pots to grow your seeds in and once they are large enough you can plant them in the ground, right in the shells.   
Now to figure out how to break the eggs just right for this project. Any tips? Anyways, a couple hours later we hinged the old windows onto the box we built and we were finished for now.


 Now off to warm up and do some reading to learn more about this whole seed growing process!
                                               
                                                      'til next time,
                                                            Adina


Linking to:

Monday, January 30, 2012

Inspiration

Inspiration can come from so many places. Lately mine has come from following so many creative bloggers and the near completion of my very own workshop!!!!

I have been sharing a small corner of my husband's shop for quite some time now and am so excited to have moved into my own space! All of my "projects" and craft supplies have been moved in and my husband has his space back all to himself. While we are still finishing up the outside of my shop, I am organizing and making myself at home on the inside. Thanks to our warm winter weather we were able to finish the stone foundation this past weekend.


The next step is to make all of this new wood look old. A simple trick will help us tackle this job. By soaking some rusty metal pieces in vinegar overnight and spraying the solution only on the wood the aging process takes merely hours instead of years. Then we can chink in between the wood to hopefully achieve a log cabin look to match the cabin we just finished building in 2011.


My plan is to add a few window boxes under each window, some greenhouse/seedling boxes along the back, paint the front door, get a bigger star to replace the small one and hang a few old implements here and there to add some much needed charm!


I'll be adding more pictures as we complete these projects and show you the inside soon too!


                                                                  Adina