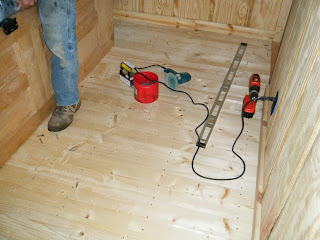
We insulated all of the walls in every room and the upstairs ceiling.
Now the fun part starts. We get to cover the walls.
We used 1" tongue and groove boards to cover the walls and the ceiling upstairs.
We also used 1" tongue and groove boards to cover the bathroom walls
We decided to use T111 boards for the back bedroom, to create board and batton walls.
One wall in the back bedroom is log!
Notice the different shaded boards running vertically along the top of the walls. These are pieces of pallets that we salvaged and took apart. I cut each board at an angle to fill the space above the 8 foot walls and below the slanted ceiling.
We did this in the back bedroom and the bathroom.
Trim boards were measured, cut and nailed around all of the corners, ceilings, floors and windows and that wraps up the building of the floors and walls.
If you are just starting to follow the construction and want to start at the beginning, click HERE.
Thanks for joining me on this journey.
'til next time,
The next post has the first picture that reveals part of the inside of the cabin after it was completed! The fireplace. Go here Part 10 to see it.


Wow you guys Built a very nice home great work
ReplyDelete